Sirui N-2204 Tripod with K-20X Ballhead for Photography
I have been searching for a good, lightweight, middle of the range priced landscape photography tripod for a few months. Can’t remember how, but I stumbled on the Sirui Tripod website and found the N-2204 model to be close to what I was looking for. I wanted something that was lightweight, therefore preferably carbon fiber, sturdy enough to hold a larger DSLR with a 300mm zoom, and something that would stretch out, allowing me to get my camera close to the ground. It seems I found all those things and more in the Sirui N-2204 with the K-20X Ballhead. I am posting this box opening / review because I have had a hard time finding many reviews of this product on the internet, other than from the manufacturer or distributors. As you will see, I really like this product and wanted to let more people know about it…….. So here are some first impressions and then some findings / comments after actual use.
I ordered my Sirui tripod kit (tripod and ballhead) and was pleasantly surprised to open it and find a really nice padded carrying case. While I probably won’t use it very much, the quality of the case was an added bonus I didn’t expect.

Full Kit
Unboxing of the actual tripod, I had the case, a tripod, an extra short 4 inch carbon fiber center column a standard 7 3/4 inch center column, the Sirui K-20X Ballhead, various Allen wreches, an adapter of some sorts, a shoulder strap and an instruction manual.

The first thing I noticed about the entire kit was that it seemed to be made very well. Having a manufacturing background, I could tell at first glance that this wasn’t going to be some cheap flimsy thing that I was going to have to replace in 3 months down the road. Overall build seemed very solid.
The first thing I wanted to check out was the tripod legs. The Sirui website states they are 8X carbon fiber, meaning they take 8 layers of 100% carbon fiber and put them together, and roll them up to make one leg tube. That equals a lot of strength and still very light. To extend the legs out, it only takes a ½ turn to loosen the locks, and all the locks on one leg can be loosened at the same time with one hand. This makes full extension of the legs very quick. This is something I really like especially compared to my old tripod with the lever locking system. They are then locked with another ½ turn in the opposite direction. The locks are also covered with a ribbed black rubber material, which makes it easier to grab when loosening and tightening. During use I find I never turn them exactly ½ turn, which really doesn’t matter, just as long as it’s at least ½ turn. Two of the three legs have padded holders on them on the top sections for comfort, these have come in handy these past few cold weather months here in the Northeast.

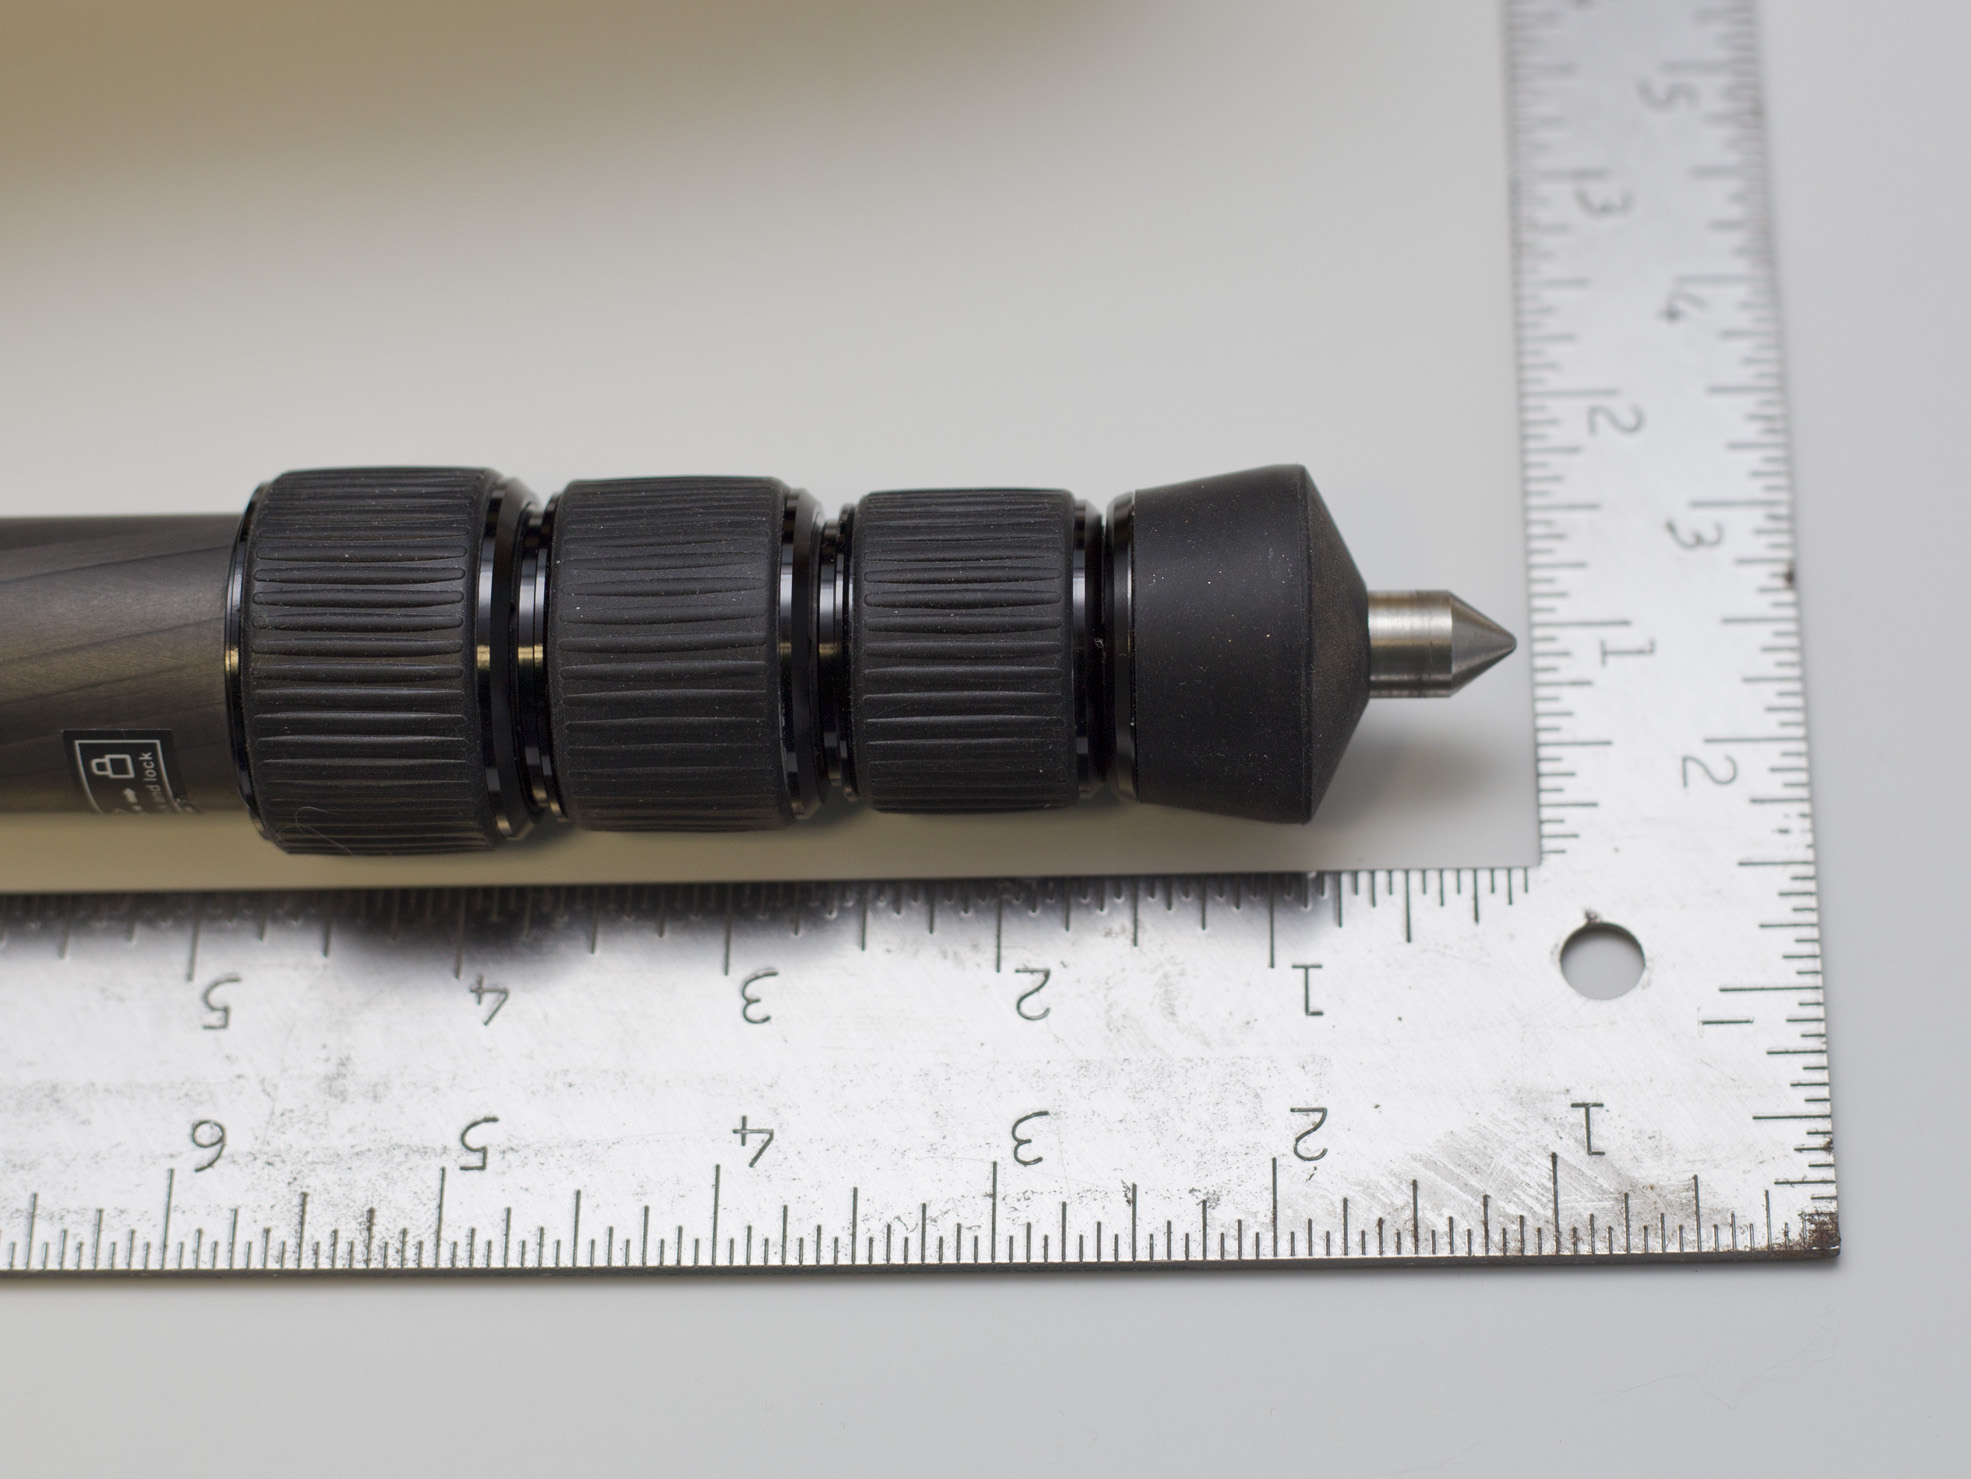
The tolerance between the four different sized carbon fiber legs is very small. Their website states the difference in diameters is only 3mm. The largest leg is 28mm (1.1”) in diameter and the smallest is 19mm (.7”) in diameter, so all four leg sections are pretty beefy. I found that when the legs were fully extended and locked, there was not a lot of side to side movement. This is great for stability. I also, by accident, found that they use two piece locking shims for each leg. These shims seem to be a perfect fit between the different leg sections. This is something during normal use you wouldn’t have to worry about, but I completely loosened one lock and removed the bottom leg section from the entire tripod. For a few moments I was a little afraid I wasn’t going to be able to get it reassembled, but no fear, it fit back and was good as new. Now I know how to disassemble the legs, should I ever need to thoroughly clean them from saltwater, dirt and other crud. The bottoms of the legs have retractable Stainless Steel spikes. You just turn the bottom rubber foot and the spike comes out. It’s a nice 9/16” long spike by 3/8” diameter. I’m sure in a pinch they could be used to slay a dragon, but just make sure if you extend them, you don’t forget to retract them back in before you place the tripod on your nice hardwood floor, or you’ll be looking for a floor re-finisher.
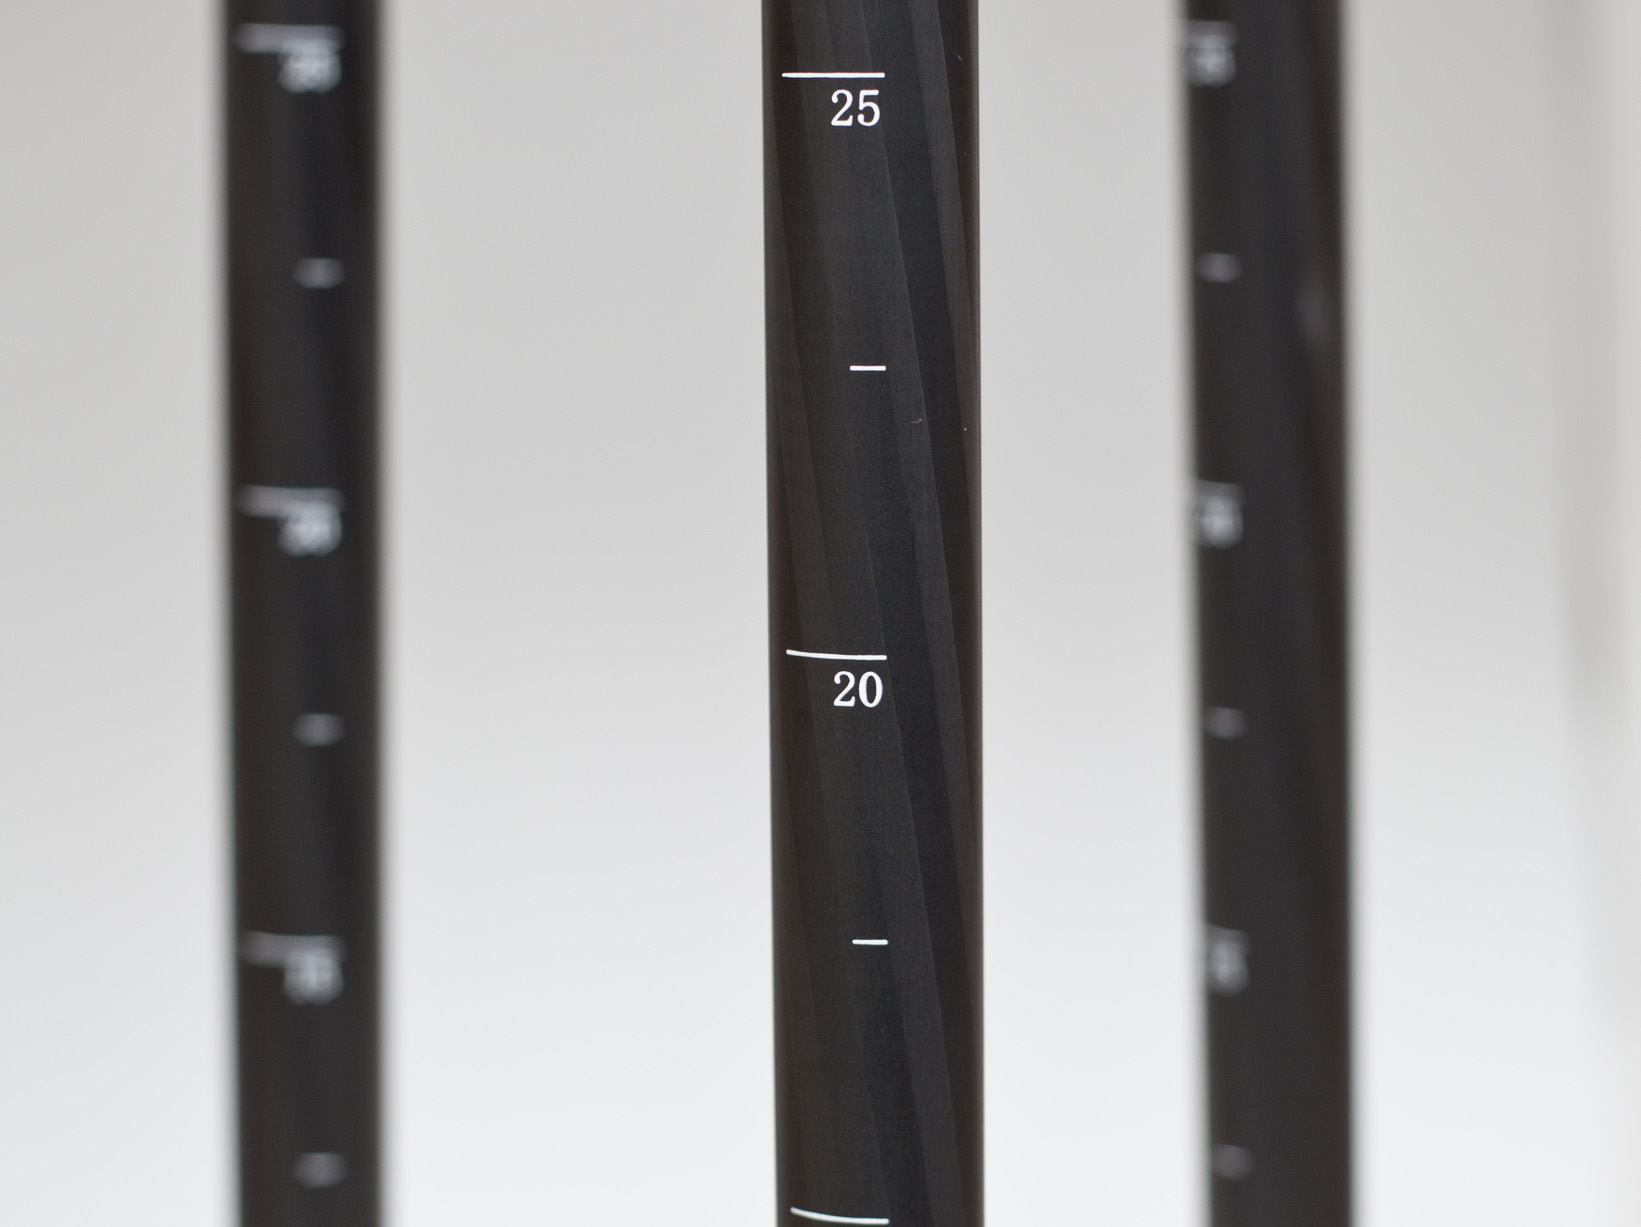
The bottom leg sections have gradients marked on it. I didn’t think I would really use this, but I find I do actually use it on occasion. It helps me keep the bottom sections even when I extend them less than the full length.
The top of the legs meet at the yoke and are attached with stainless steel screws and 3 position ratchet system. Per the manufacturers website, this allows the legs to be stretched out to 23 degrees, 52 degrees and the lowest 80 degrees (which my daughter says looks like a big spider). The ratchet system is very easy to use. The ratchet levers are a toggle design, and can be pressed with one finger and move very smoothly. The legs can also be folded a full 180 degrees to fold up for compact travel. The only issue I found with this is that they only can be folded up compact like this if you are using the longer center column. I put on the shorter center column the first day I received the tripod and haven’t had a need to change back to the long one. When the ballhead is on the shorter center column, the legs hit it when folded for compactness. I guess for airline travel, if I really need it to be compact, I’ll just take off the center column and ballhead.

Short Center Column with hook
As mentioned above, the tripod comes with two carbon fiber center columns, one is 7 3/4 inches long and the shorter is 4 inches. I think this is a bonus, most companies make you purchase a shorter one as an aftermarket item. To change over, you unscrew the bottom hook, loosen the center column height adjustment lock, the column slides out, you replace it with the other length, and reinstall the hook. The hook is spring loaded, I’ve used it on occasion to hang my backpack on it and reduce tripod movement. When the longer center column is installed, the tripod head can be extended to a height of 64 ¼” to the top of the ballhead clamp, with the shorter column installed, the max height is 58 ¼” to the top of the clamp. When the shorter center column is installed and the legs spread out, the tripod head can be as low as 9 3/8”, to the top of the head clamp.
The tripod yoke is made from forged aluminum which has a black anodized surface coating. I haven’t been able to scratch this surface coating yet so it seems fairly resilient. The outside diameter of the yoke section is 2 3/8 inches. The center column height adjustment lock is coated with the same rubber material as the leg lock. I haven’t had much need to adjust this because I have the center column all the way down and just leave it there.
One added feature of this tripod that I’m not sure I will use, but it’s nice to have an option too, is that one of the legs actually can be unscrewed from the rest of the tripod and be used as a standard monopod. You unscrew the leg, add a supplied adapter to the top of the leg, then you can install your ballhead onto that, you can also use it without the ballhead and a 1/4”-20 screw, although I haven’t tried. You now have a fully functioning monopod. The maximum height for this monopod with ballhead is 57 ½”. That measurement is to the top of the clamp.

Sirui K-20X Ballhead
This is their 38mm aircraft grade aluminum ballhead. It has a capacity of 55 lbs, which I don’t ever see myself overloading, especially since the tripod can only handle 33 lbs. The ballhead itself weighs 0.9 lbs, per the Sirui website, so it’s not feather light, but it’s not a brick either. The ballhead accepts a standard 3/8” screw on the bottom of it. There are 3 adjustment knobs and 3 different level bulbs on the ballhead. Starting from the bottom, you have the panoramic control knob, the ball locking knob (which includes a friction lock screw) and a plate locking knob. All three have the same rubber coating as the tripod leg locks. There are degree markings on the lower section of the ballhead for panoramic adjustments.

Loosening the panoramic control knob allows you to rotate the camera on the tripod a full 360 degrees. Tightening the knob locks it down so it can not budge. I tested this out to see how good the lock is. When I lock it down and try to rotate the ballhead, it doesn’t move at all, if I apply too much force, I end up unscrewing the ballhead from the tripod. The amount of force I needed to apply to get this to happen was pretty excessive. Definitely not something that would happen in everyday usage. The main ball locking knob locks down a large 38mm ball on this model. There are a total of 12 marks on the knob that go from loose to tight. The product I received came set up exactly how I needed it. The loose setting is loose, but not so loose that the camera flops around. The fully tight setting locks the tripod ball down so that it doesn’t move with the weight of my 300mm lens attached to my camera. There is a friction lock screw on the end of the ball locking knob that you can adjust with a coin.
This is so that you can set the dial stop in the fully loose setting. The dial has markings from 0 to 12, 12 being the tightest. I have the dial stop set so that I can only loosen it to the 2 mark. Anything looser than that and the ballhead is just too loose to attach your camera to it. The last knob on the ballhead is the one that locks the camera plate to the ballhead. The tripod head uses that Arca-Swiss type clamping system. This works as it should, tighten the knob and it locks the plate down. There is a safety button designed into the clamp so that if the clamp came loose the camera wouldn’t fall off the ballhead. This is definitely an added bonus for me. The only thing I’m not sure about is if this safety button system will work with other brand camera plates. I’ve been thinking about getting a different manufacturers L bracket plate, so I guess I’ll find out its limitations. The three level bubbles do as they should, although I don’t really look at them, my Canon 5Dmkiii has a built in level, so I rely mostly on that.
The ballhead also has one slot cut out of it so that you can move your camera from landscape to portrait mode.
The camera plate that comes with it is a TY-60 model. It’s the standard camera plate that is 2 3/8 inches x 1 15/16 inches. It has a captured ¼”-20 screw to attach to your camera. This screw is a D type thumb screw with an Allen head. I suggest using the Allen wrench to tighten it down to your camera and don’t rely on just the thumb screw. It’s so small it’s hard to get a good grip on it to tighten.
Overall I am extremely happy with this purchase. It’s well-built and has performed exactly as I have hoped. It does look pretty beefy, but at the same time, the carbon fiber material makes it light. The legs extend and retract quickly and I can adjust their angles without any really effort. The K-20X ballhead is a precision machined piece of art. It’s so smooth that every time I use it, I still am amazed at how nice it is. So if you’re in the market for a new lightweight tripod, I highly suggest checking out the Sirui N-2204 with the Sirui K-20X ballhead, it won’t completely drain your wallet like some of the other high end brands, but I think it’s very comparable in quality. These also come with a 6 year manufacturers warranty.
I also should note that I am in no way sponsored, affiliated and any of that other stuff with the Sirui company.
Please post any questions in the comments section and I will more than happy to try to answer them for you.